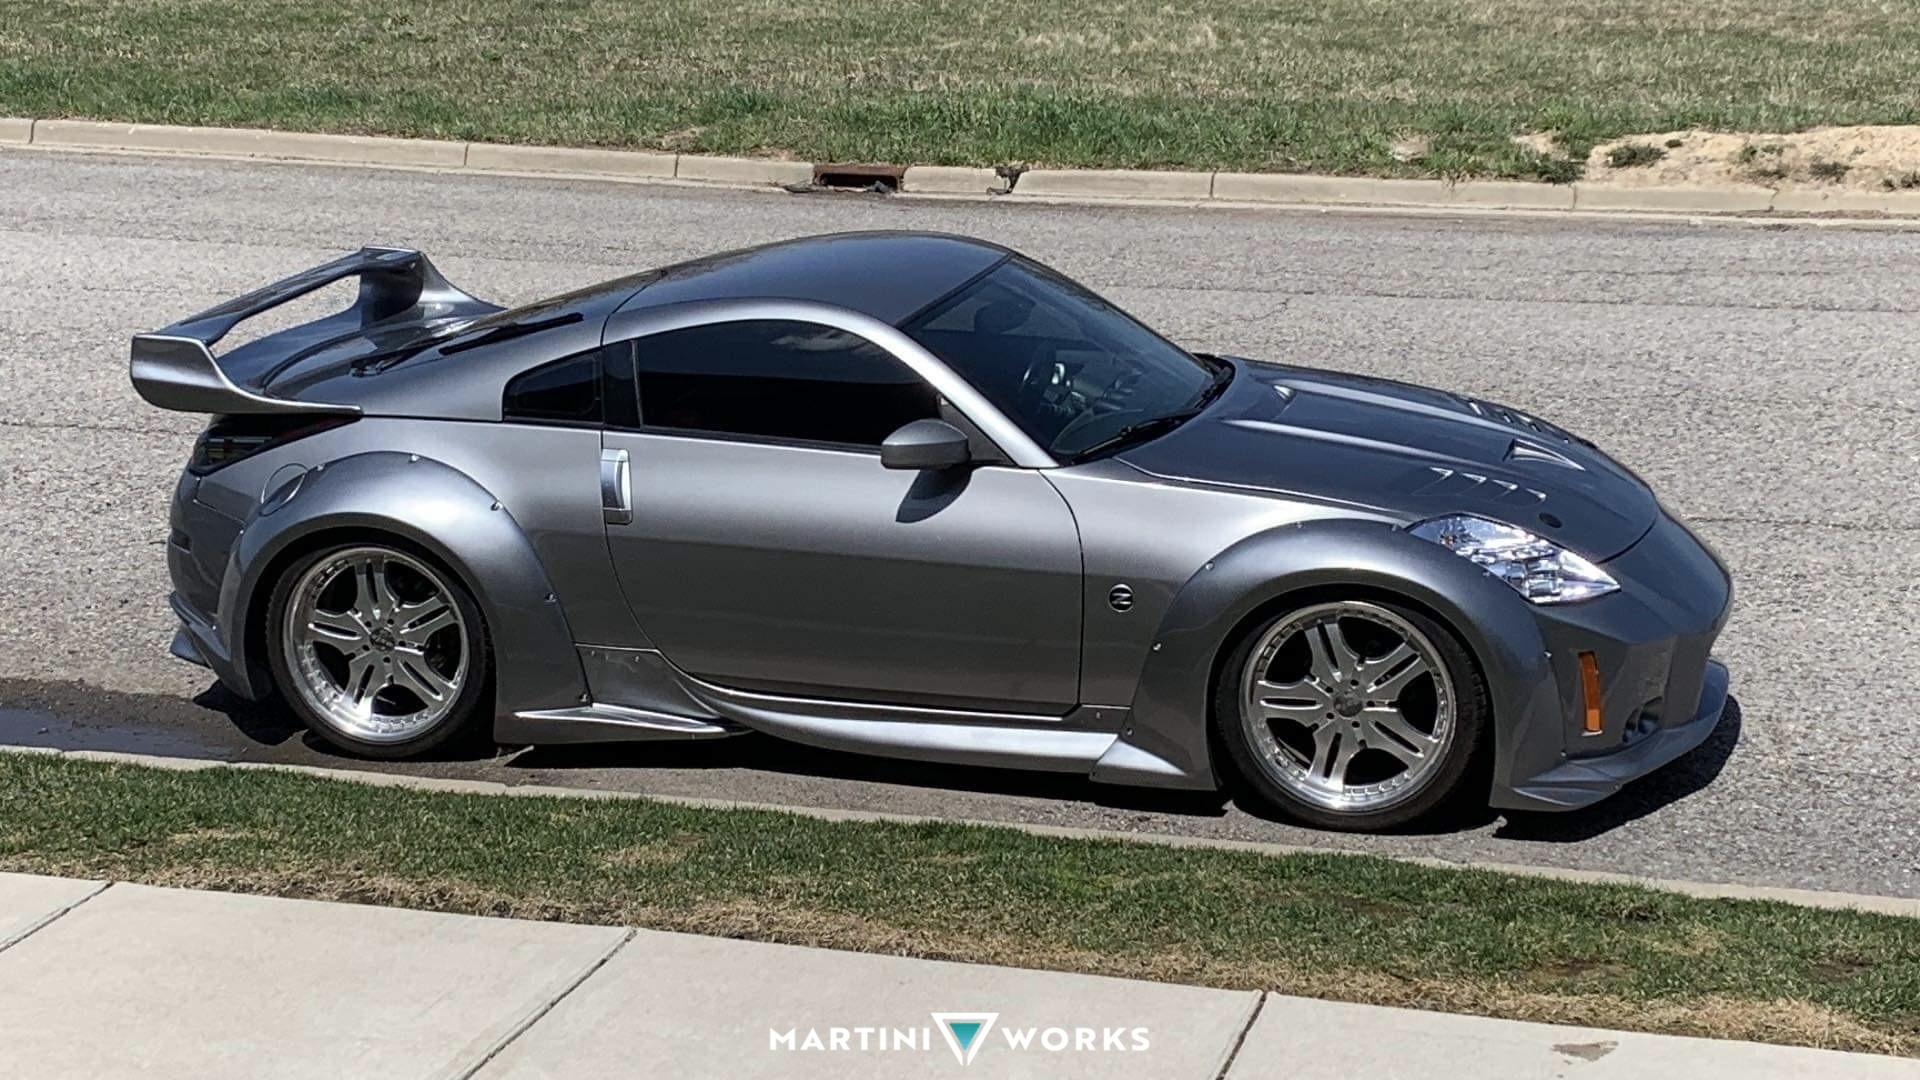
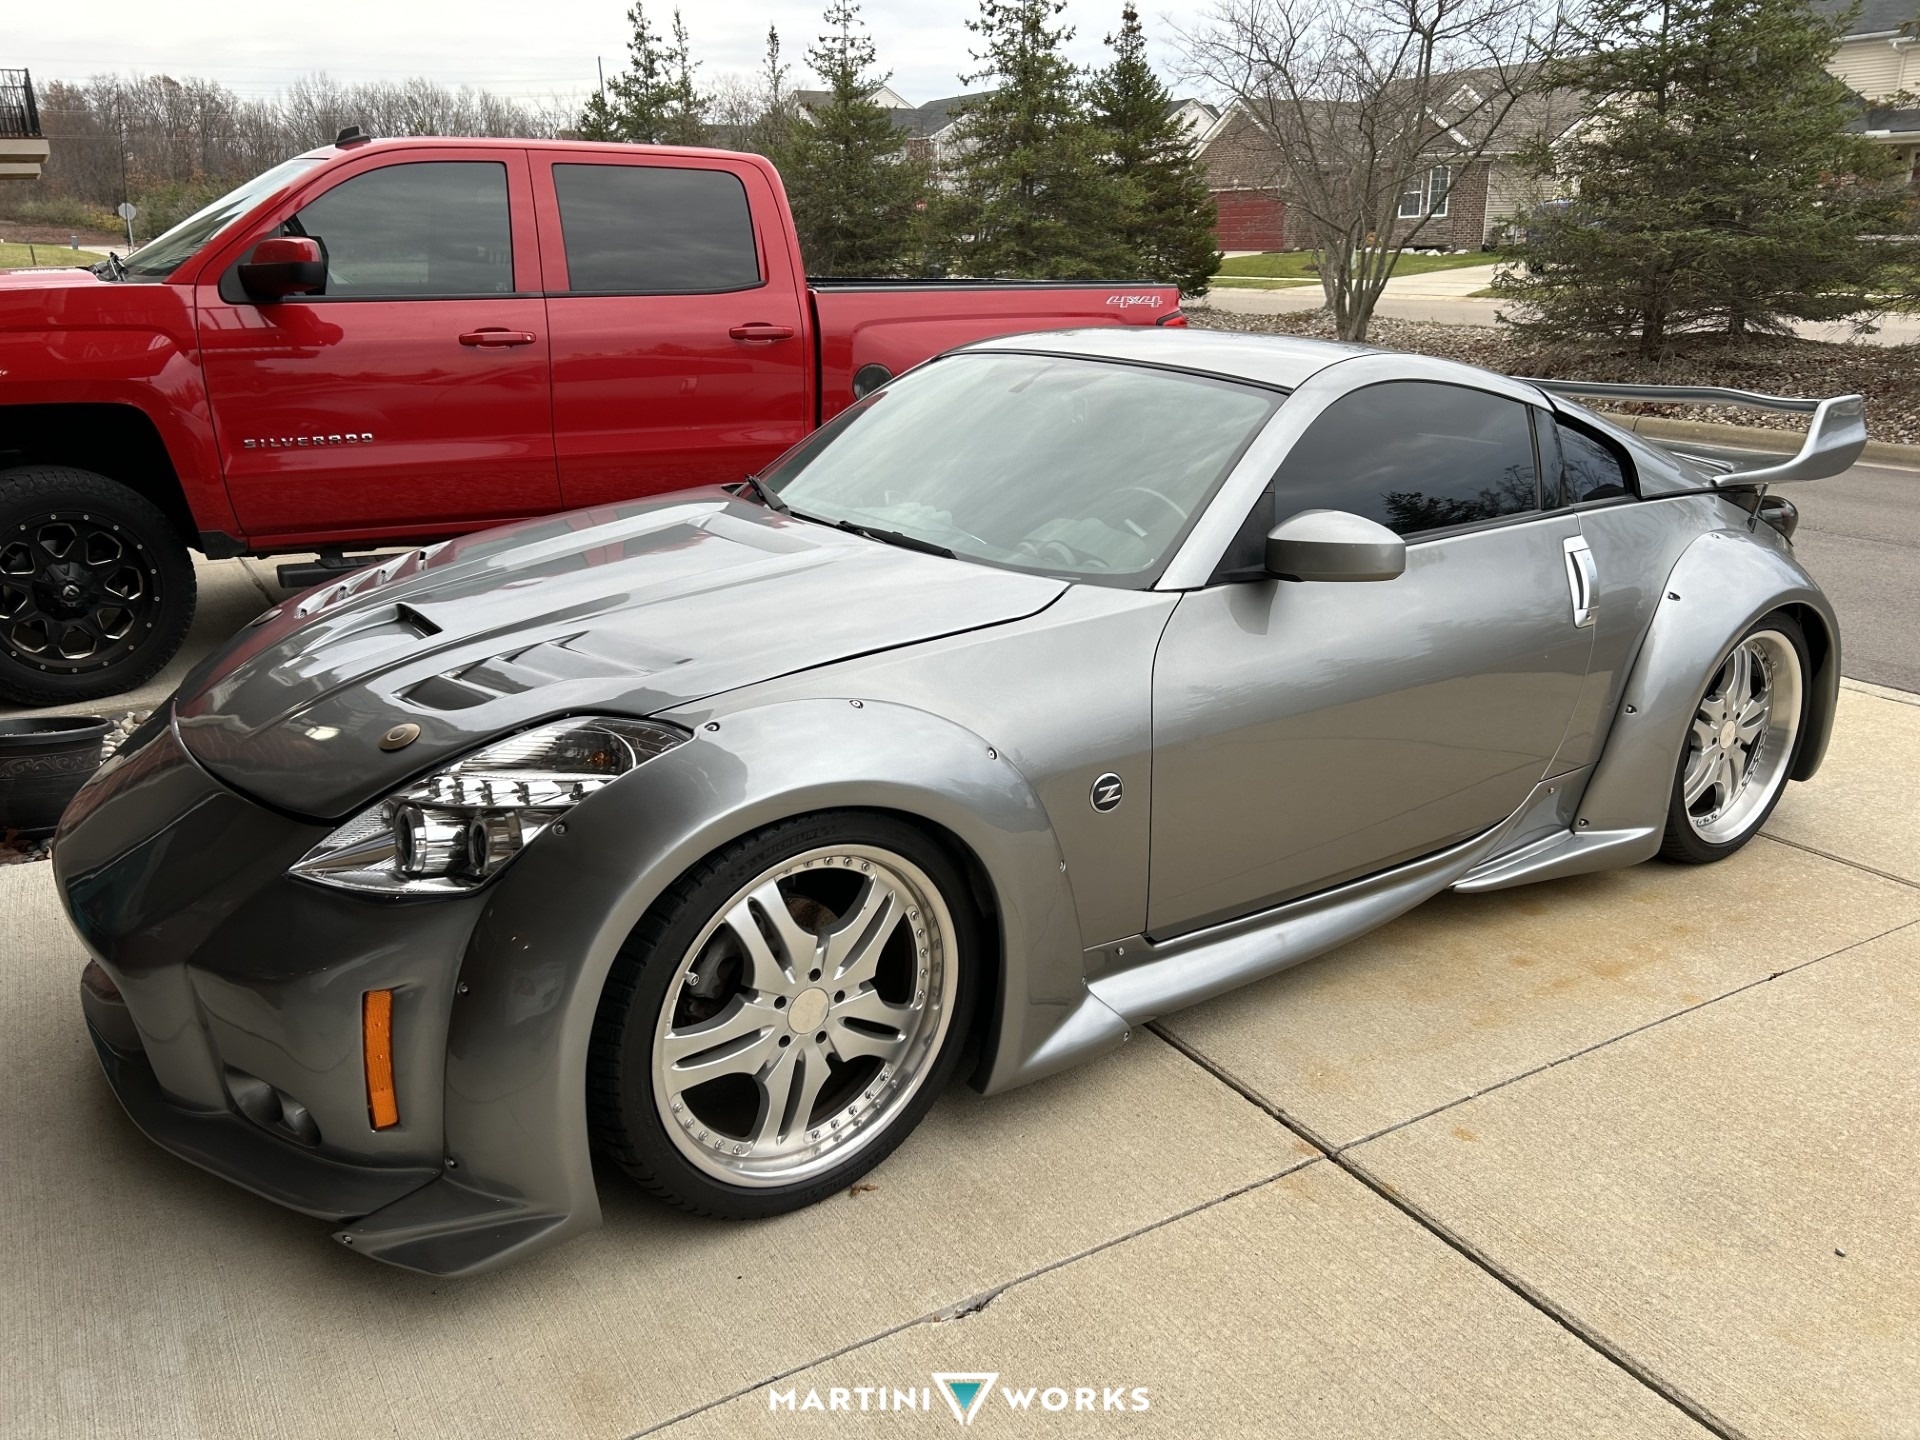
I am a gear-head at heart - always have been - anything with a motor has the potential to become unique! I fell in love with European sports cars at a young age and dreamed of owning a Lamborghini one day. Jump forward to 2020 and I'm ready to get serious about having a unique sports car that I could actually afford. I always liked the Porsche 911 and 944 Turbo, so I spent time looking for a solid platform to start a build, but found that what was out there was over-priced and Porsche parts are not cheap either. I was also a fan of the Nissan Z series, more so the 350Z, for its body styling and modification potential. So I went on a search for a starting platform for my build. I found it mostly by accident while on Ebay. The photos of the car looked fantastic for condition but it was listed as having major engine damage. It was located in Georgia (I'm in Michigan), so I was happy to know that I'd have a vehicle with little to no rust (and it has NONE). I purchased the car and had it shipped up to Michigan, and the project began! First order of business was to get the motor out and tear it apart to see what was required. Coolant in the oil and lots of signs of overheating but no cracks....until the final casting cover at the base of the block was removed and the crack was found. No rebuilding this one. I purchased a JDM VQ35DE long block as my starting point. As part of my rebuild I port matched the upper intake, installed the Kinetix V+ upper plenum, 75mm throttle body, Injen Cold air intake, went with one-step colder plugs and t-stat, Moroso aluminum race radiator, oil cooler, Z1 Oil catch can system, headers, baffled test pipes, full Nismo dual exhaust, Lightweight flywheel, street performance 5-puck clutch and Z1 engine hose kit. Prior to doing any of the body conversion, the car was lowered using Full front and Rear ISF Performance Street Series Suspension, with H&R Coilovers, and 20” Axis VIP wheels with Michelin Pilot Sport 285/30 (rear), 255/35 (front) tires filed the wheel wells. My vision for the body was born after I installed a Duraflex Vader 3 rear spoiler. The rest of the car now needed to take on the attitude and boldness that the wing was generating. I looked at a lot of different wide body kits and none of them made the impact I was wanting, except for the Vader 3 kit – even though I was avoiding it with everything I could. Everything I had read from others was to stay away from Duraflex as their molds were poor and required a TON of modifying and repair to make them fit and look good. So I spent months looking everywhere else for what I wanted my car to become, but never found it. I pulled the trigger on the Duraflex kit telling myself, “it can’t be as bad as they are making it out to be”, and “you only hear from the people that are unhappy with a product.” Well, they weren’t wrong! Coming out of the box the parts didn’t look too bad, but as soon as I started fitting them to the car it quickly became apparent that if I was going to proceed with this kit, and I almost quit several times throughout the build, it was going to involve hundreds of hours (250+) of body work to make it right. This build didn’t have a deadline, so I dove in and got started. Every single piece required MAJOR fixing (adding fiberglass to complete the part so that it would even work, creating mounting points to attach light housings, and attach the pieces to the car, grinding and reshaping pieces to fit, and that was all just to rough fit it. The panel finishing was just as big of an undertaking. Like I said, I almost threw in the towel several times along the way. Every panel needed significant finish work, both to correct appearance and final fitment before paint (I cataloged most of my build with photos, mainly for myself). TIP: If you don’t have really strong body work skills (fiberglass, plastic, metal), and lots of time and patience, don’t do this kit from this manufacturer. I can’t say anything else about any of their other kits. The overall feel of the car still wasn’t finished until I topped it off with Carbon Creations Vader Style fiberglass hood…..the look was now complete! During the wide body fabricating, the fenders were cut, welded and sealed. The rear was upgraded with 370Z axle shafts and hub bearing assemblies, and wheel spacers were added to push the tire out to fill the new width. So many other things were upgraded or added along the way: LED headlights and tail lights, custom mounted dual Halo LED fog lamps in the front fascia, Workshop12 TESLA screen control on the interior, and many more. The entire build took about 1 1/2 years.