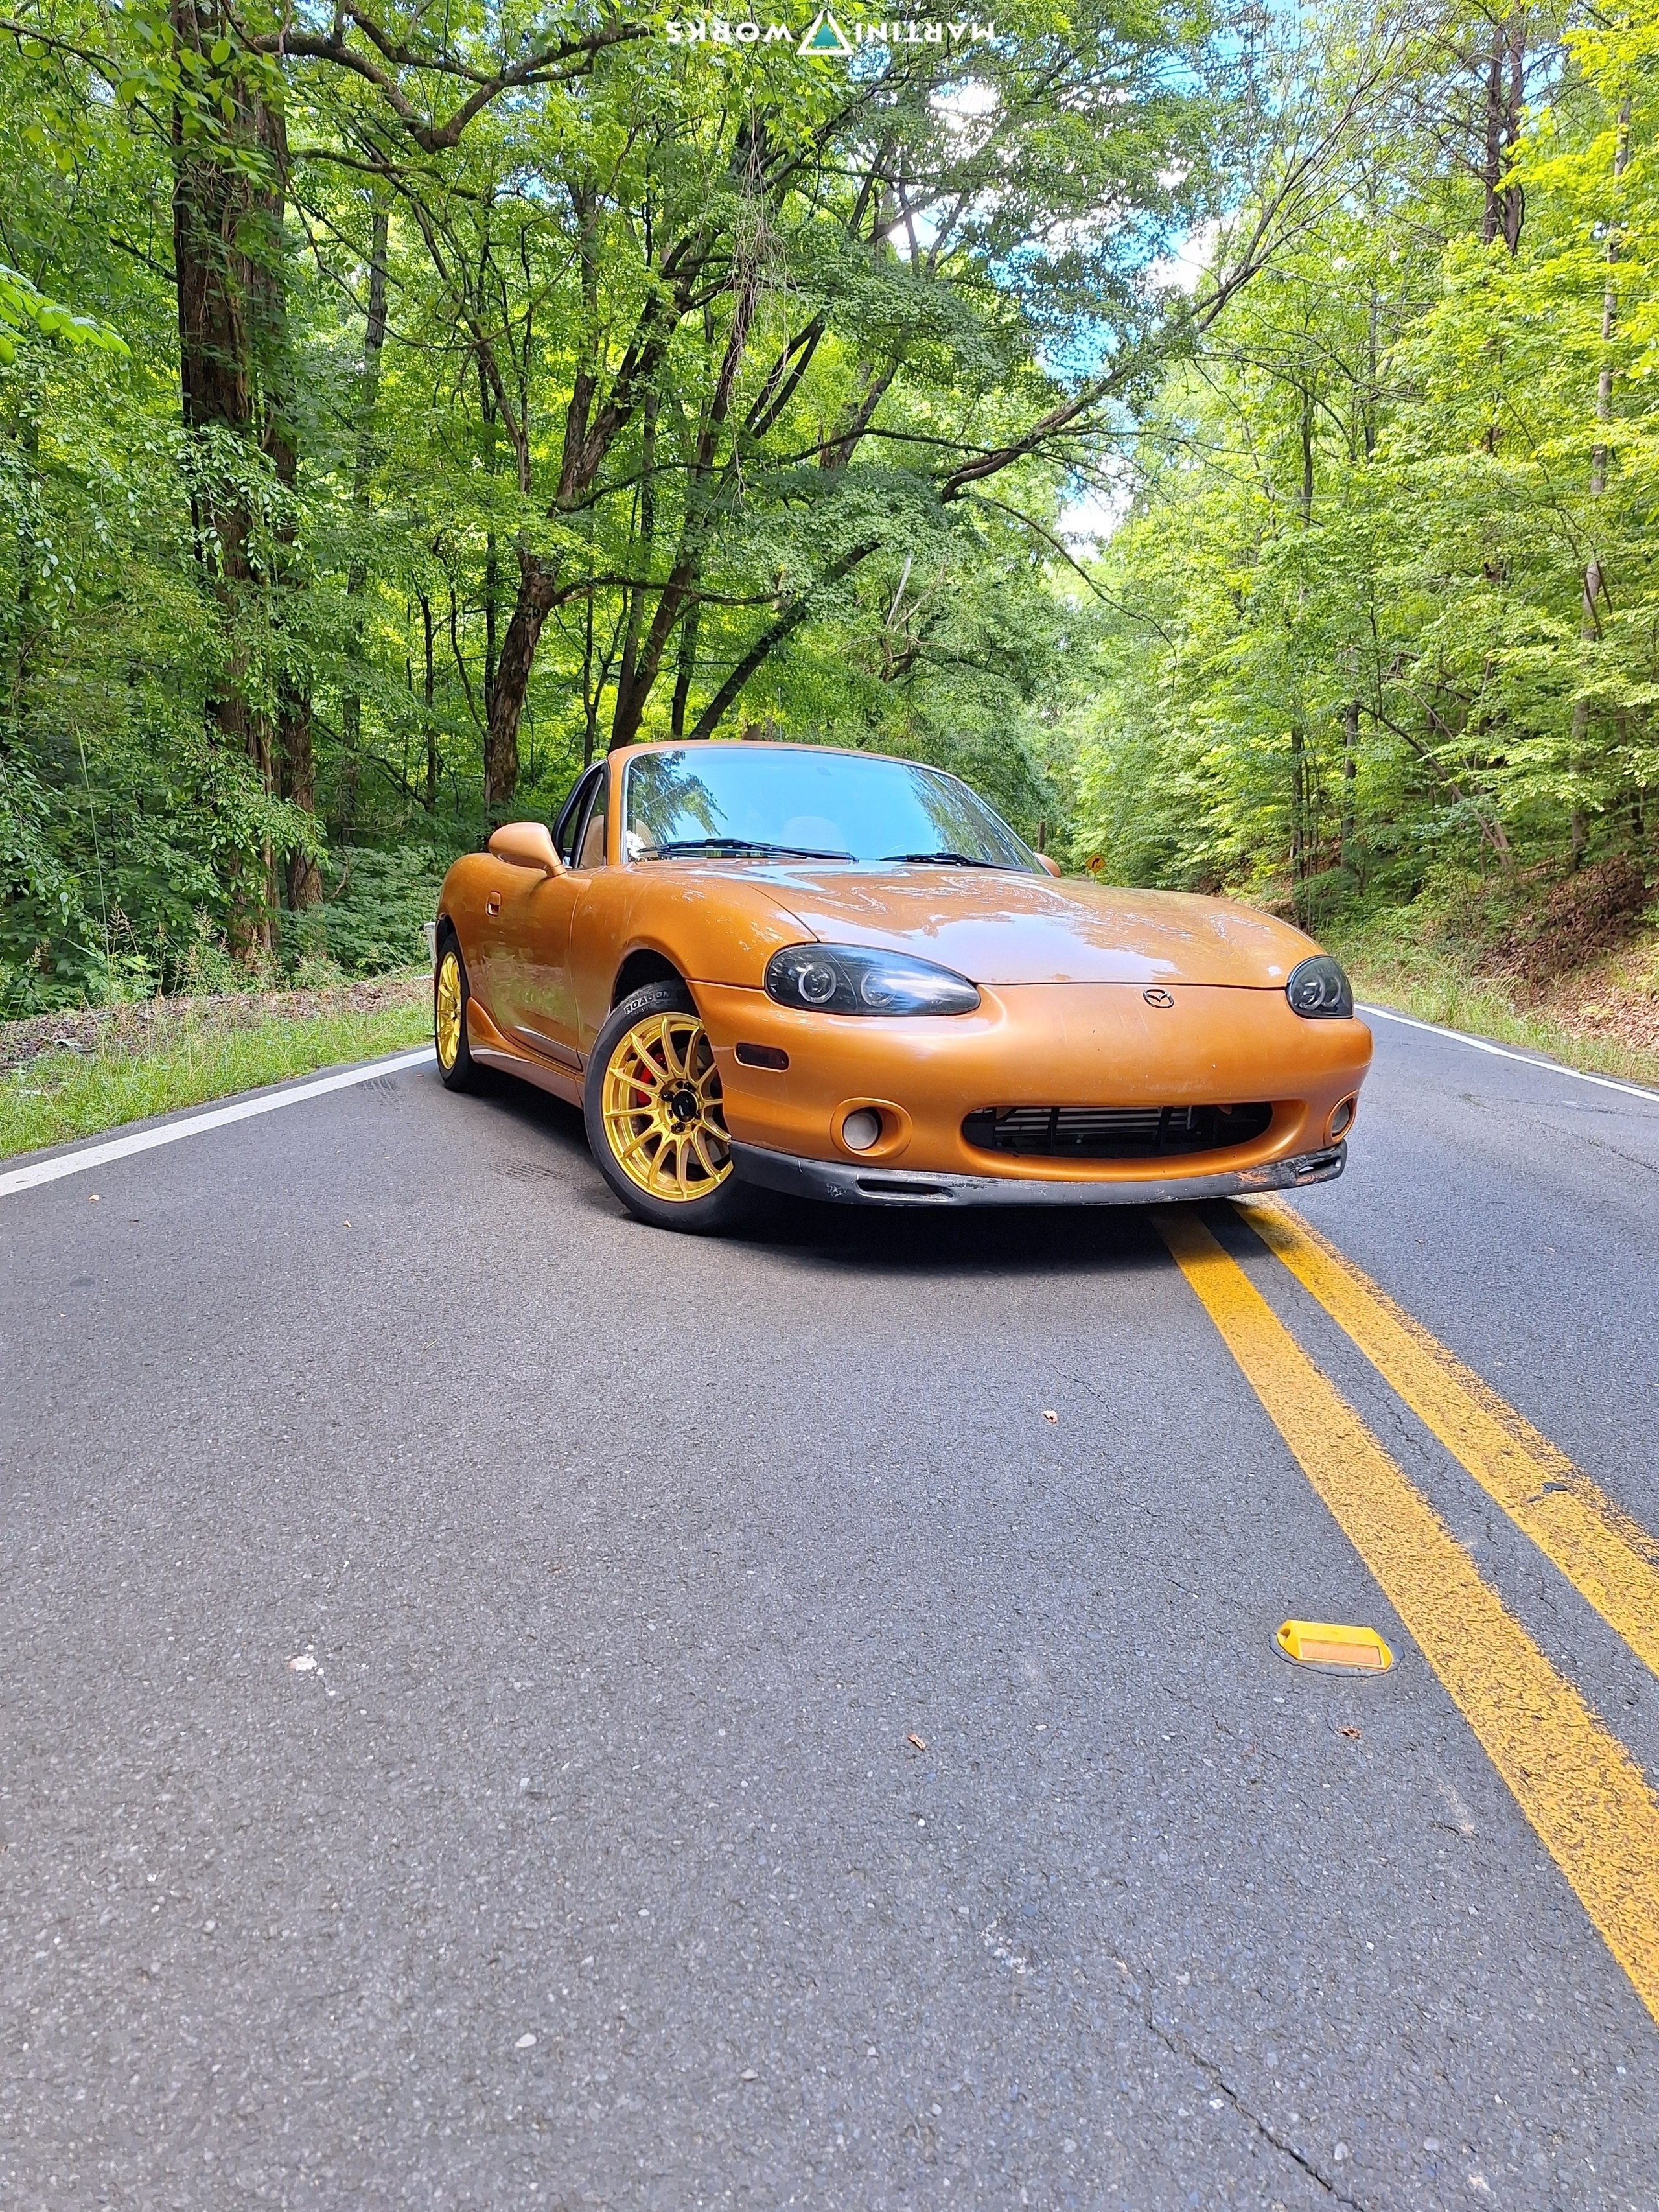
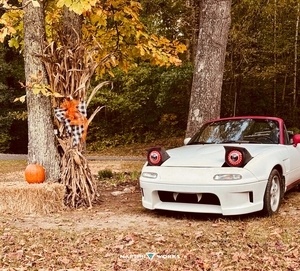
One day I was scrolling through marketplace and saw a gold mazda miata and the words: "Supercharged" were thrown into the mix. At the time I had a 03 Ford Focus SVT with mild mods but being an fwd car it was not meant to be for me. After setting eyes on this miata, i knew this was the one. It was rear wheel drive, manual, and supercharged. All the bells were going off to buy this car. I spoke with the owner and test drove it and worked out a good deal. From there I never really realized how far this car would go down the project car rabbit hole. I spent a weekend fixing wires that were damaged from mice due to it sitting in a barn for several years and was able to enjoy the car.The following weekend I installed a mod pipe ISR Racing exhaust and 10lb lightweight flywheel and exedy performance clutch and disc. I noticed that it had a dead spot on the throttle during take off and knew that this car needed a stand alone ecm to iron out the finer details of this car's driveability. From there I started collecting intercooler plumbing, a front mount intercooler, Megasquirt PNP2 ECM, small snout pulley for the supercharger to raise the boost. I did map out the supercharger's efficiency map and learned that any other combination would be overspinning my supercharger and creating more heat. With already high air temps entering the engine, my aim was to keep the air temps as low as possible. I sourced a generic 2.5" intercooler piping kit and made it work. The main reason was for cost at the time knowing that there are more optimal options out there such as track dog racing. I also knew that having a longer path would also drop some boost pressure which I was ok with the trade off knowing that the internals to this engine were still stock. My biggest challenge that I had to overcome was the plumbing going behind the headlight housings. They were were so large that I opted to replace them for smaller aftermarket headlights which worked perfectly. From there I took care of the maintenance items such as the water pump, timing belt (gates blue belt), idler and tensioner pulley, camshaft and crankshaft oil seals to ensure a good life. It was about this time that I had learned about dual throttle body setups and how much more beneficial they were for hot side supercharger setups. After doing some research, I decided to go for it. With that being said I came up with a plan since I did not like how most people did their dual throttle body setups. To elaborate most people would source a secondary throttle body (usually aftermarket which means larger diameter) and have a custom bracket and cable made to essentially "daisy chain" the throttle bodies together. While this does work, it does not sit well with me. My car with now deleted AC (dumb move) and inoperable cruise control. I decided to delete my cruise control system instead of diagnosing and fixing it. What that left for me was not only some weight savings but also room to do what I had originally intended to do. In that time, I had sourced a secondary throttle pedal assembly and another factory throttle cable. All I needed was the claw that held the cable in place since the cruise control diameter was different. From there I welded on a bracket to provide a secondary mount for my secondary throttle cable. After that I deleted the "dummy throttle body" which just has no sensors or butterfly, an open hole. I installed the factory throttle cable the way that Mazda had wanted it to the throttle body on the intake manifold and then the secondary throttle cable followed its designated route from Jackson Racing recommended location. This gave me individual adjustments over both throttle bodies as well as a ganged adjustment at the throttle pedal. I also had to remove a return spring from each throttle body since in theory 4 springs would have a heavier pedal. Now with dual throttle bodies with factory replacement parts and a still factory pedal feel, I set off to do a QMaxx coolant reroute kit, Toyota Celica GTS COPS and custom made bracket for the ignition system. I built a plug and play wasted spark wiring harness to be able to send the signals where they needed to go as well. I also painted the engine bay to have a more subtle look to it. Keep in mind that this was all done during a Winter in Wyoming in a portable harbor freight tent garage. After getting to install the gauges for referencing boost and A/F Ratios I was off for a base tune. I reached out to a friend who help guided me through the process remotely. With that the car had life again. I knew that I needed to get someone to tune my car whom I could trust as well as be confident in its abilities. Eventually Robert from Boost Creep in Colorado fit the bill for my needs. He told me that he had an Mainline AWD roller dyno with steady state ability. I was sold and set up an appointment and was off. 1.5hr drive later and several hours of closed loop tuning and we settled on a safe number that I could enjoy. He also said that the torque curve was really nice. We test drove it and it felt great. 5 years pass and I now live in Georgia. At one point in its life in Georgia I had sent off the supercharger to have the rotors coated and the housing coated again to create the best seal possible. After settling on the power output department I set my eyes on the audio system. While it was not bad from factory I wanted a little more than what I had. I settled for a full on Kicker Audio build, with a rear parcel panel to add some more speakers and subwoofers too. I remove the spare tire to create space for an amp rack to house the amplifiers. I replaced the door speakers and tweeters as well as installed the Leeroy Engineering rear parcel panel which added x2 6.5" speakers and x2 8" subwoofers. I also bought a Kicker L7 subwoofer and sourced a trunk box that I could blend the subwoofer box into trunk panel to create a more seamless fit. I also opted for a double Din JVC head unit. After learning how much of a draw on the charging system this created. I sourced a 120amp alternator and a 600CCA battery with a larger reserve capacity. This did help with maintaining good voltage without the need of a capacitor. After a few rides the trunk subwoofer felt more like the car was going to fall apart in the rear and no real bass notes were making it up to the passenger cabin. Ultimately I ended up on deleting the trunk subwoofer and amplifier. I also had installed the Harddog Rollbar during the same time as the speaker parcel panel installation. I also installed sound deadening throughout the car to give a more solid, quality feel as well as manage heat well. Lastly I have tackled the brake system. I have replace the entire base model brakes for the sport brake pads, rotors and calipers. I opted for powdercoated red calipers and slotted rotors for that look. Stainless steel brake lines also to compliment the new brakes as well. The wheels and tires were another marketplace steel with no curb rash and lightweight (12lbs) per wheel. It was not my first color choice but it was ok enough to settle on. I bought this car with only 82k miles on it and it is now around 90k. It has been a blast to drive, the body is the next goal to tackle and paint. I want to upgrade the bumper to an NB2 to make the headlight fitment better and fix the hail damage as well as repaint it. The Evolution Orange color is 1 of 644 made that year and is still one of my favorite colors.